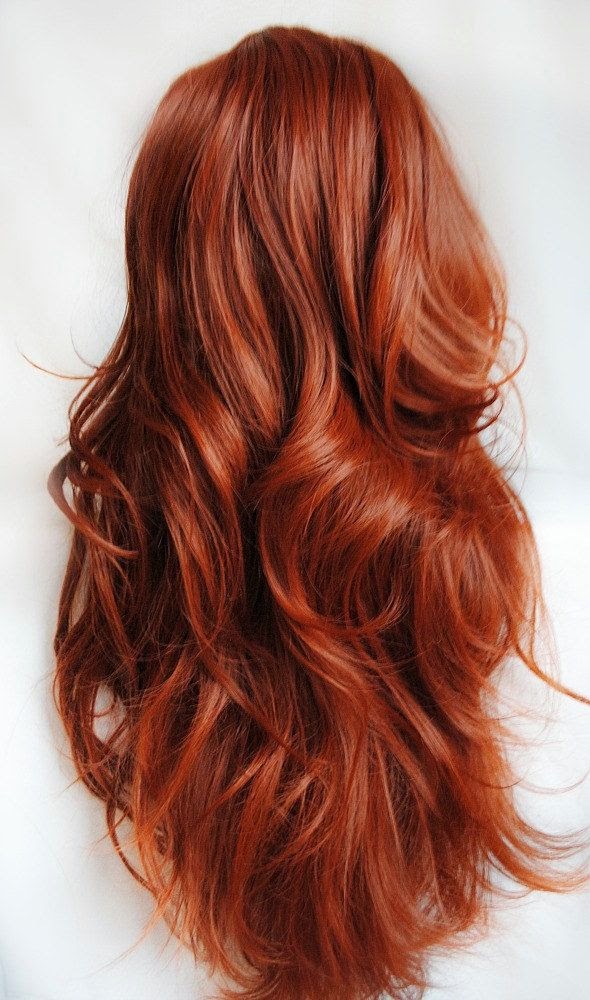
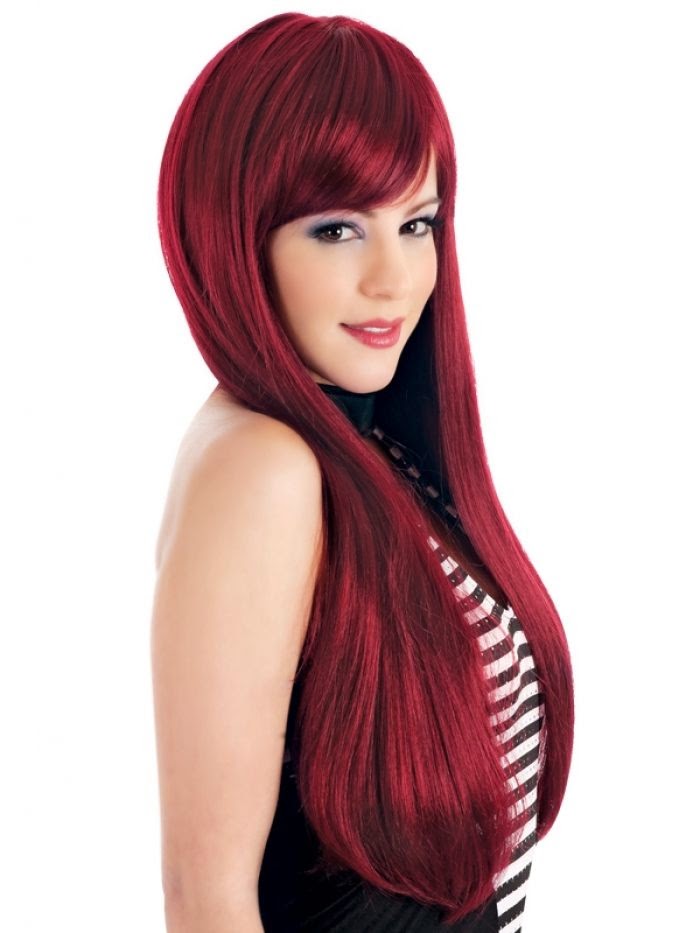
We love flat iron curling because of the wave-like curls it makes, how long they last because of the tension between the two flat iron plates, and how you can adjust the heat depending on how loose or tight you want the curls. Here is our tutorial:
Before:
1. Start with about a 1 inch section towards the front of the head. You can either section the hair off, or just grab sections randomly around the head like we prefer to give it a more uneven natural look.
2. While holding the section in your non-dominant hand, hold the flat iron in your dominant hand and clamp the flat iron towards the root of the section while facing the flat iron pointing down. It works so much better having the flat iron facing down then upward.
3. Twist the flat iron towards the back of the head one turn. (It is harder to pull the flat iron through the section of hair if you turn the flat iron more than once.)
4. Then pull down at an angle allowing the hair to pull completely through the flat iron.
5. Complete the rest of the hair. Curl both sides of the hair with the curls directed toward the back of the head. Don't worry too much about what each individual curl looks like.
Once the hair is all completely curled, run your fingers through the hair to break up the curls. If you see any curls that need to be fixed, now is the time to fix them now that you can see how all the curls work together.
* Note.. This is how we have found flat iron curls work best. Try tweaking different steps yourself to find which works best for you! Examples: maybe try alternating the curls by directing them towards the front and back of the head instead of just towards the back. Also you can adjust the heat depending on the size of curl you desire (the higher the temperature of the flat iron, the tighter the curl. The lower temperature of the flat iron, the looser the curl.)
Tutorial by Raquel and Jessi.


%20268%207206896%20Daily%20Moist%20Shamp.png)
%20268%207207890%20Classic%20Conditioner.png)
%20268%207204481%203%20in%201.png)
%20268%207206906%20Power%20Cleanser%20Shamp.png)

.JPG)
.JPG)
.JPG)
.JPG)
.JPG)
.JPG)
.JPG)
.JPG)
.JPG)
.JPG)
.JPG)


